
Installing a Modlist with Jackify
Note
This guide uses Tuxborn (a Skyrim Special Edition modlist) as a worked example throughout. The steps are identical for any Wabbajack modlist — substitute your modlist name and game wherever Tuxborn and Skyrim appear.
Important
A successful installation does not guarantee the modlist will work on your system. Linux modding involves too many hardware, driver, and system-specific variables for any guarantee to be made. If something does not work after a successful install, seek help in #unofficial-linux-help on the Wabbajack Discord.
Introduction
Jackify provides fully automated modlist installation and configuration for Linux and Steam Deck - with the exception of some Fallout New Vegas modlists. This guide covers the complete start-to-finish installation process — Jackify handles everything automatically with no manual configuration needed.
Prerequisites
- Linux system (Steam Deck, Ubuntu, Fedora/Nobara, Arch, etc.)
- Steam installed and logged in
- Protontricks — required for modlist configuration
- See Installing Protontricks for installation instructions
- Proton GE 10-14 (highly recommended, maximum for ENB compatibility)
- See Installing GE-Proton for installation instructions
- Alternatively, Proton 10 or Proton Experimental will work for non-ENB modlists
- Nexus Mods account
- 7-Zip (for AppImage extraction)
- FUSE (pre-installed on most distributions)
- Ubuntu/Debian-based distros only (Ubuntu, Kubuntu, Linux Mint, Pop!_OS, Zorin OS, elementary OS, and others): Qt platform plugin library
sudo apt install libxcb-cursor-dev
Step 1: Download and Extract Jackify
- Download Jackify from Nexus Mods
- Extract the AppImage from the 7z archive:
7z x Jackify.7z - Make it executable:
chmod +x Jackify.AppImage
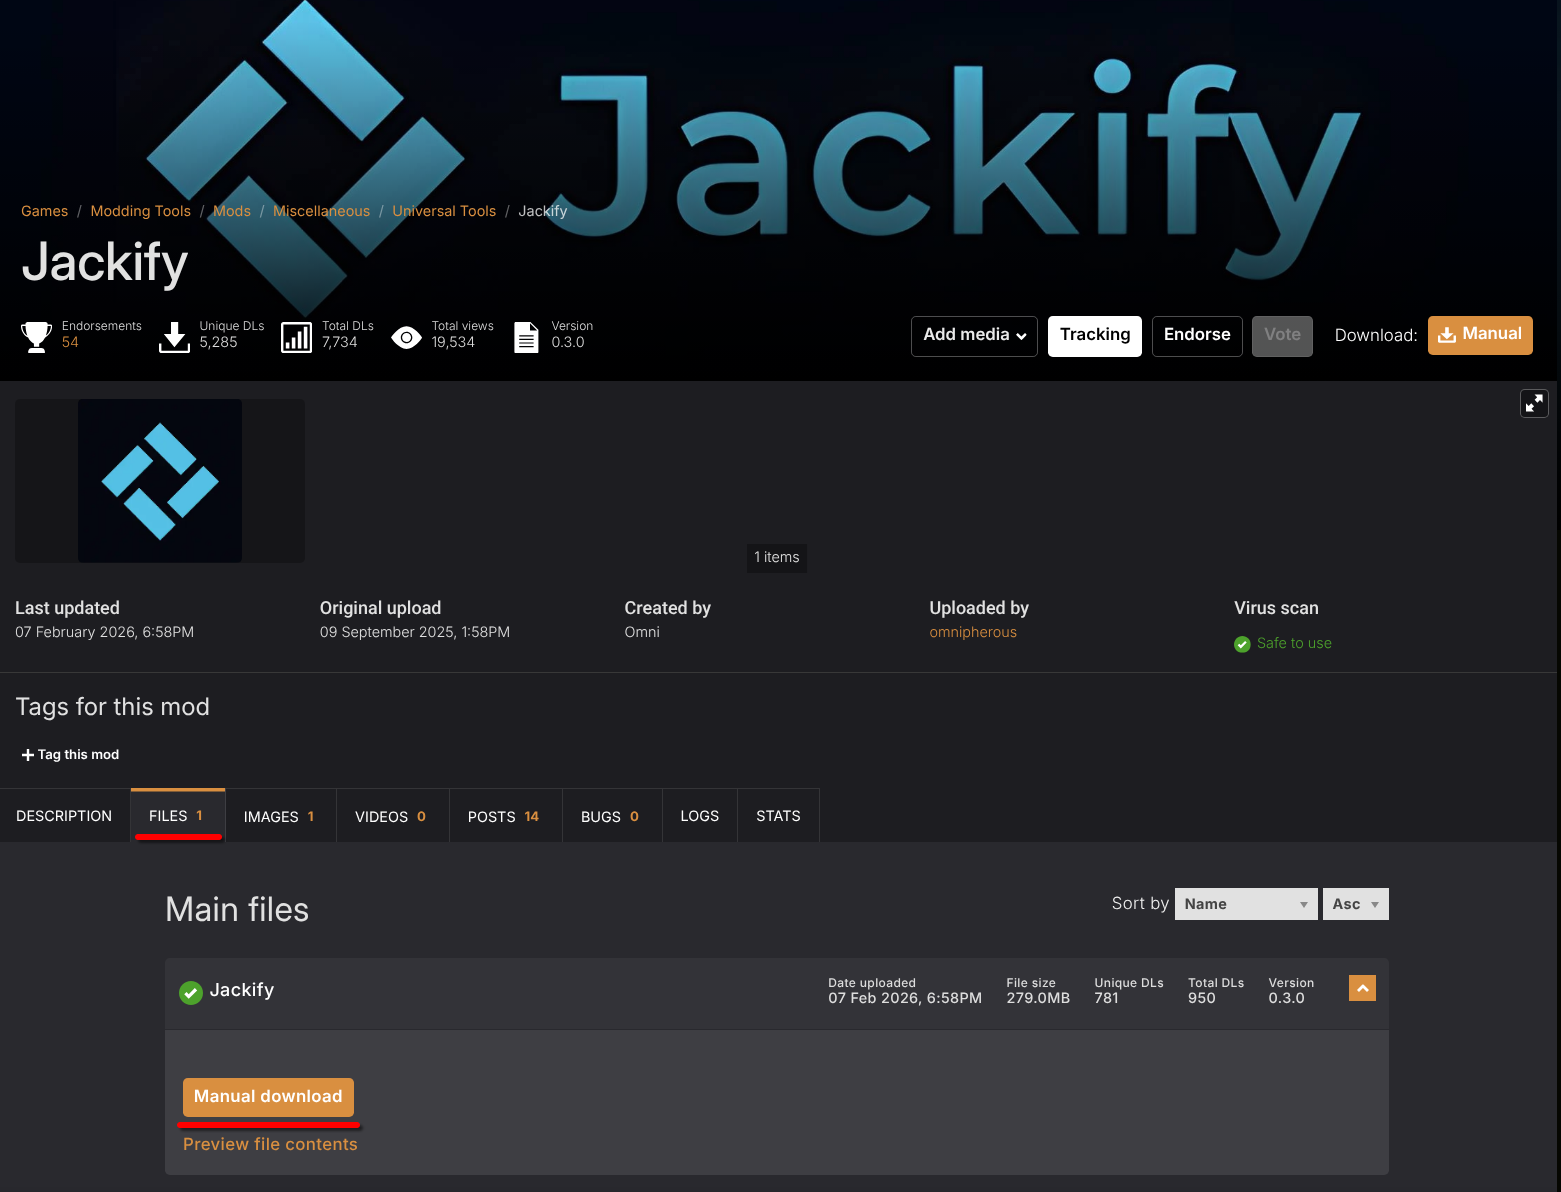
Screenshot: Jackify on Nexus Mods
Step 2: Launch Jackify
./Jackify.AppImage
Or for CLI mode:
./Jackify.AppImage --cli
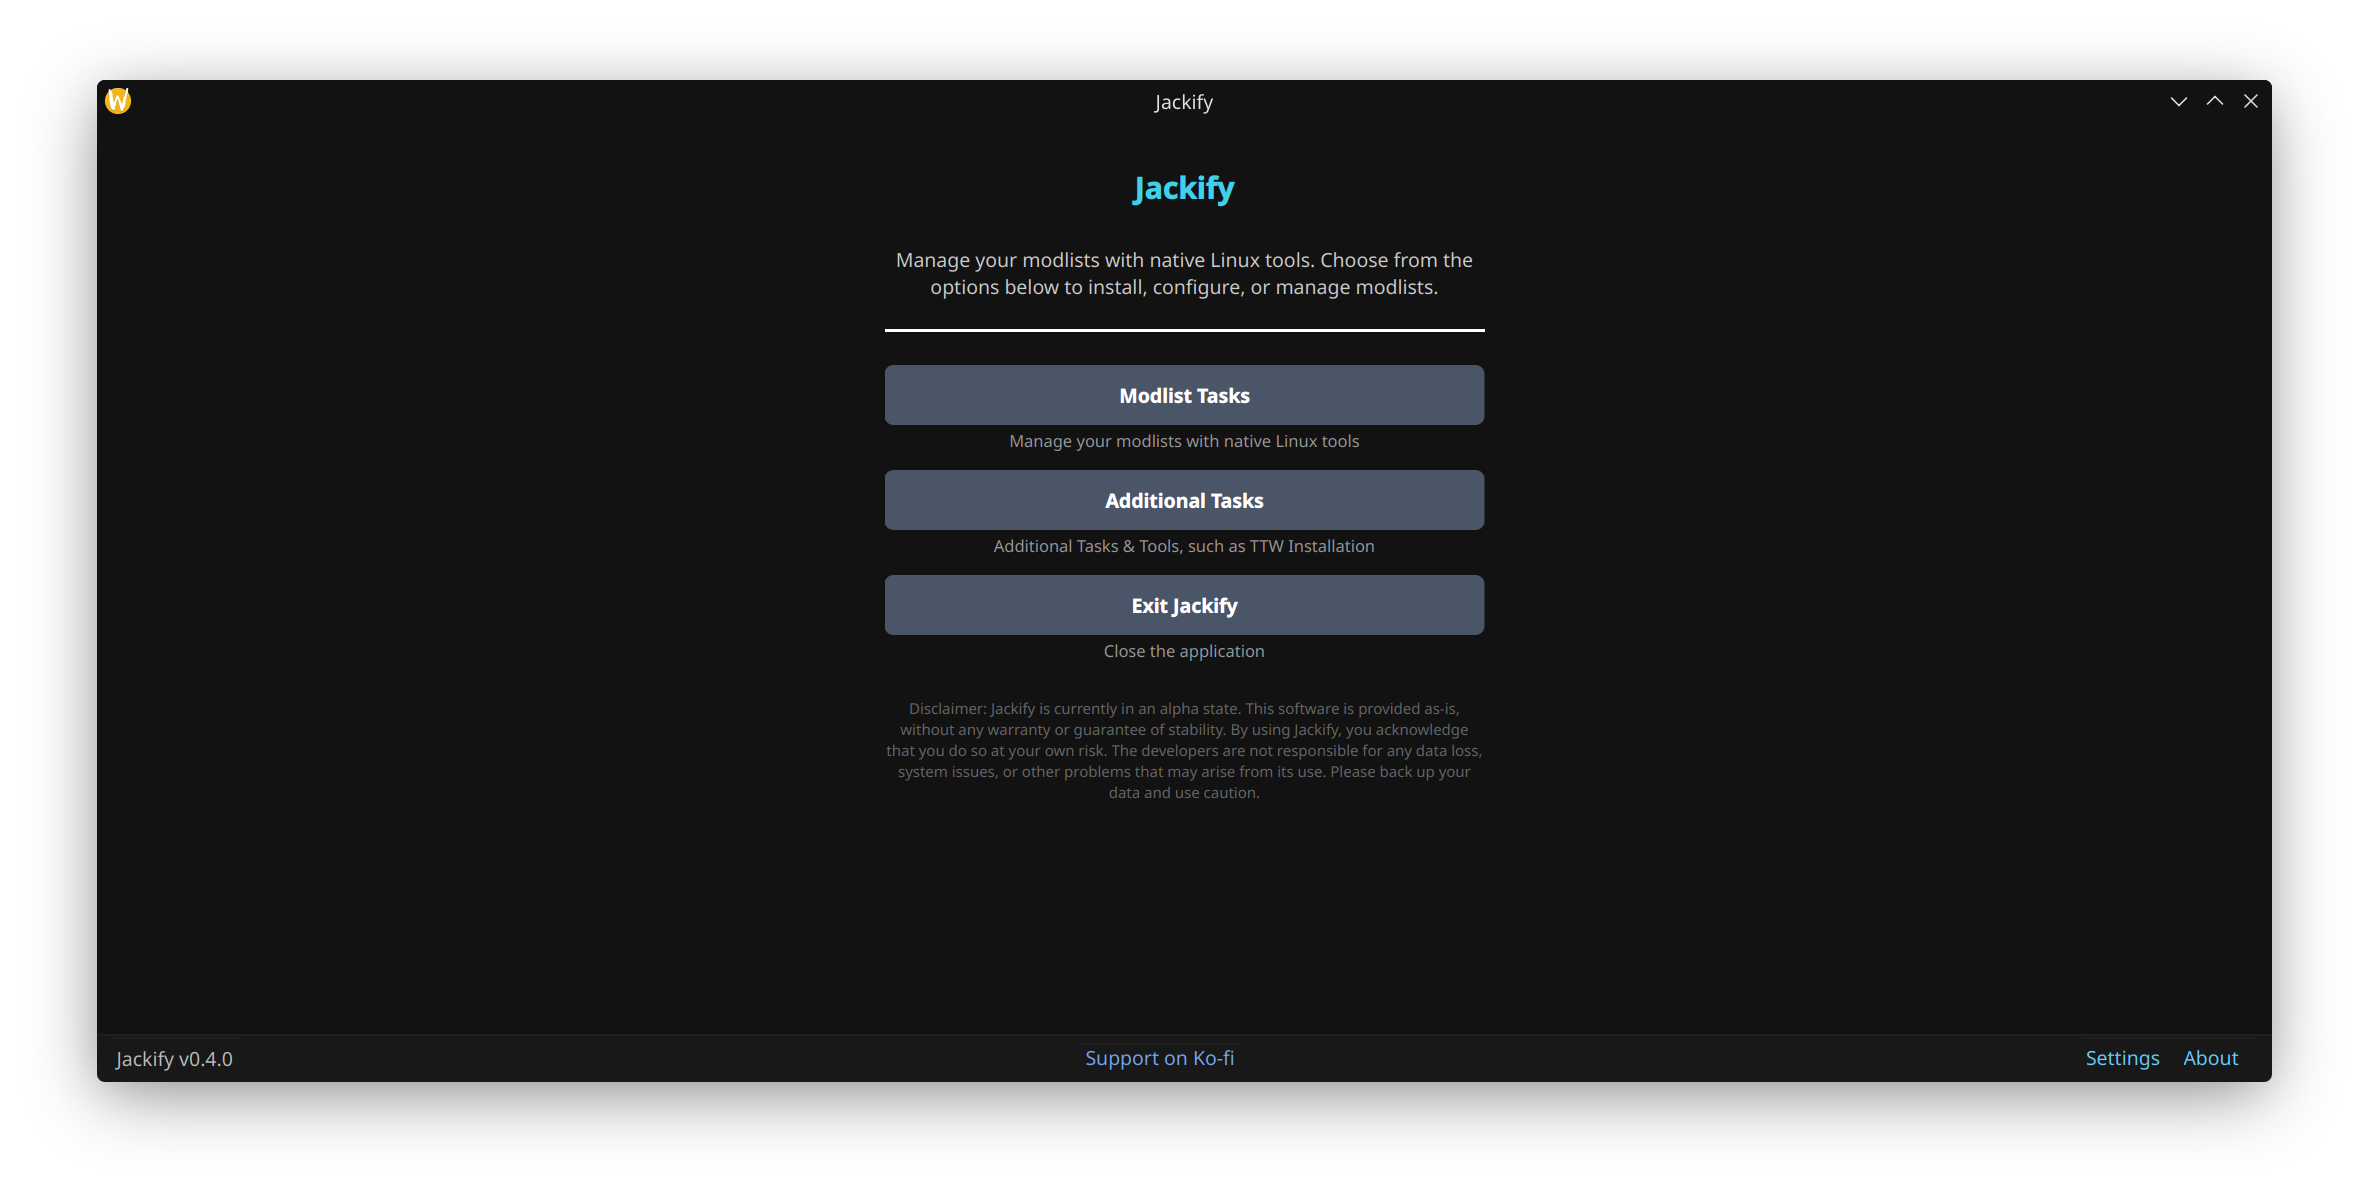
Screenshot: Jackify main window
Step 3: Install a Modlist
- From the main menu, select "Modlist Tasks"
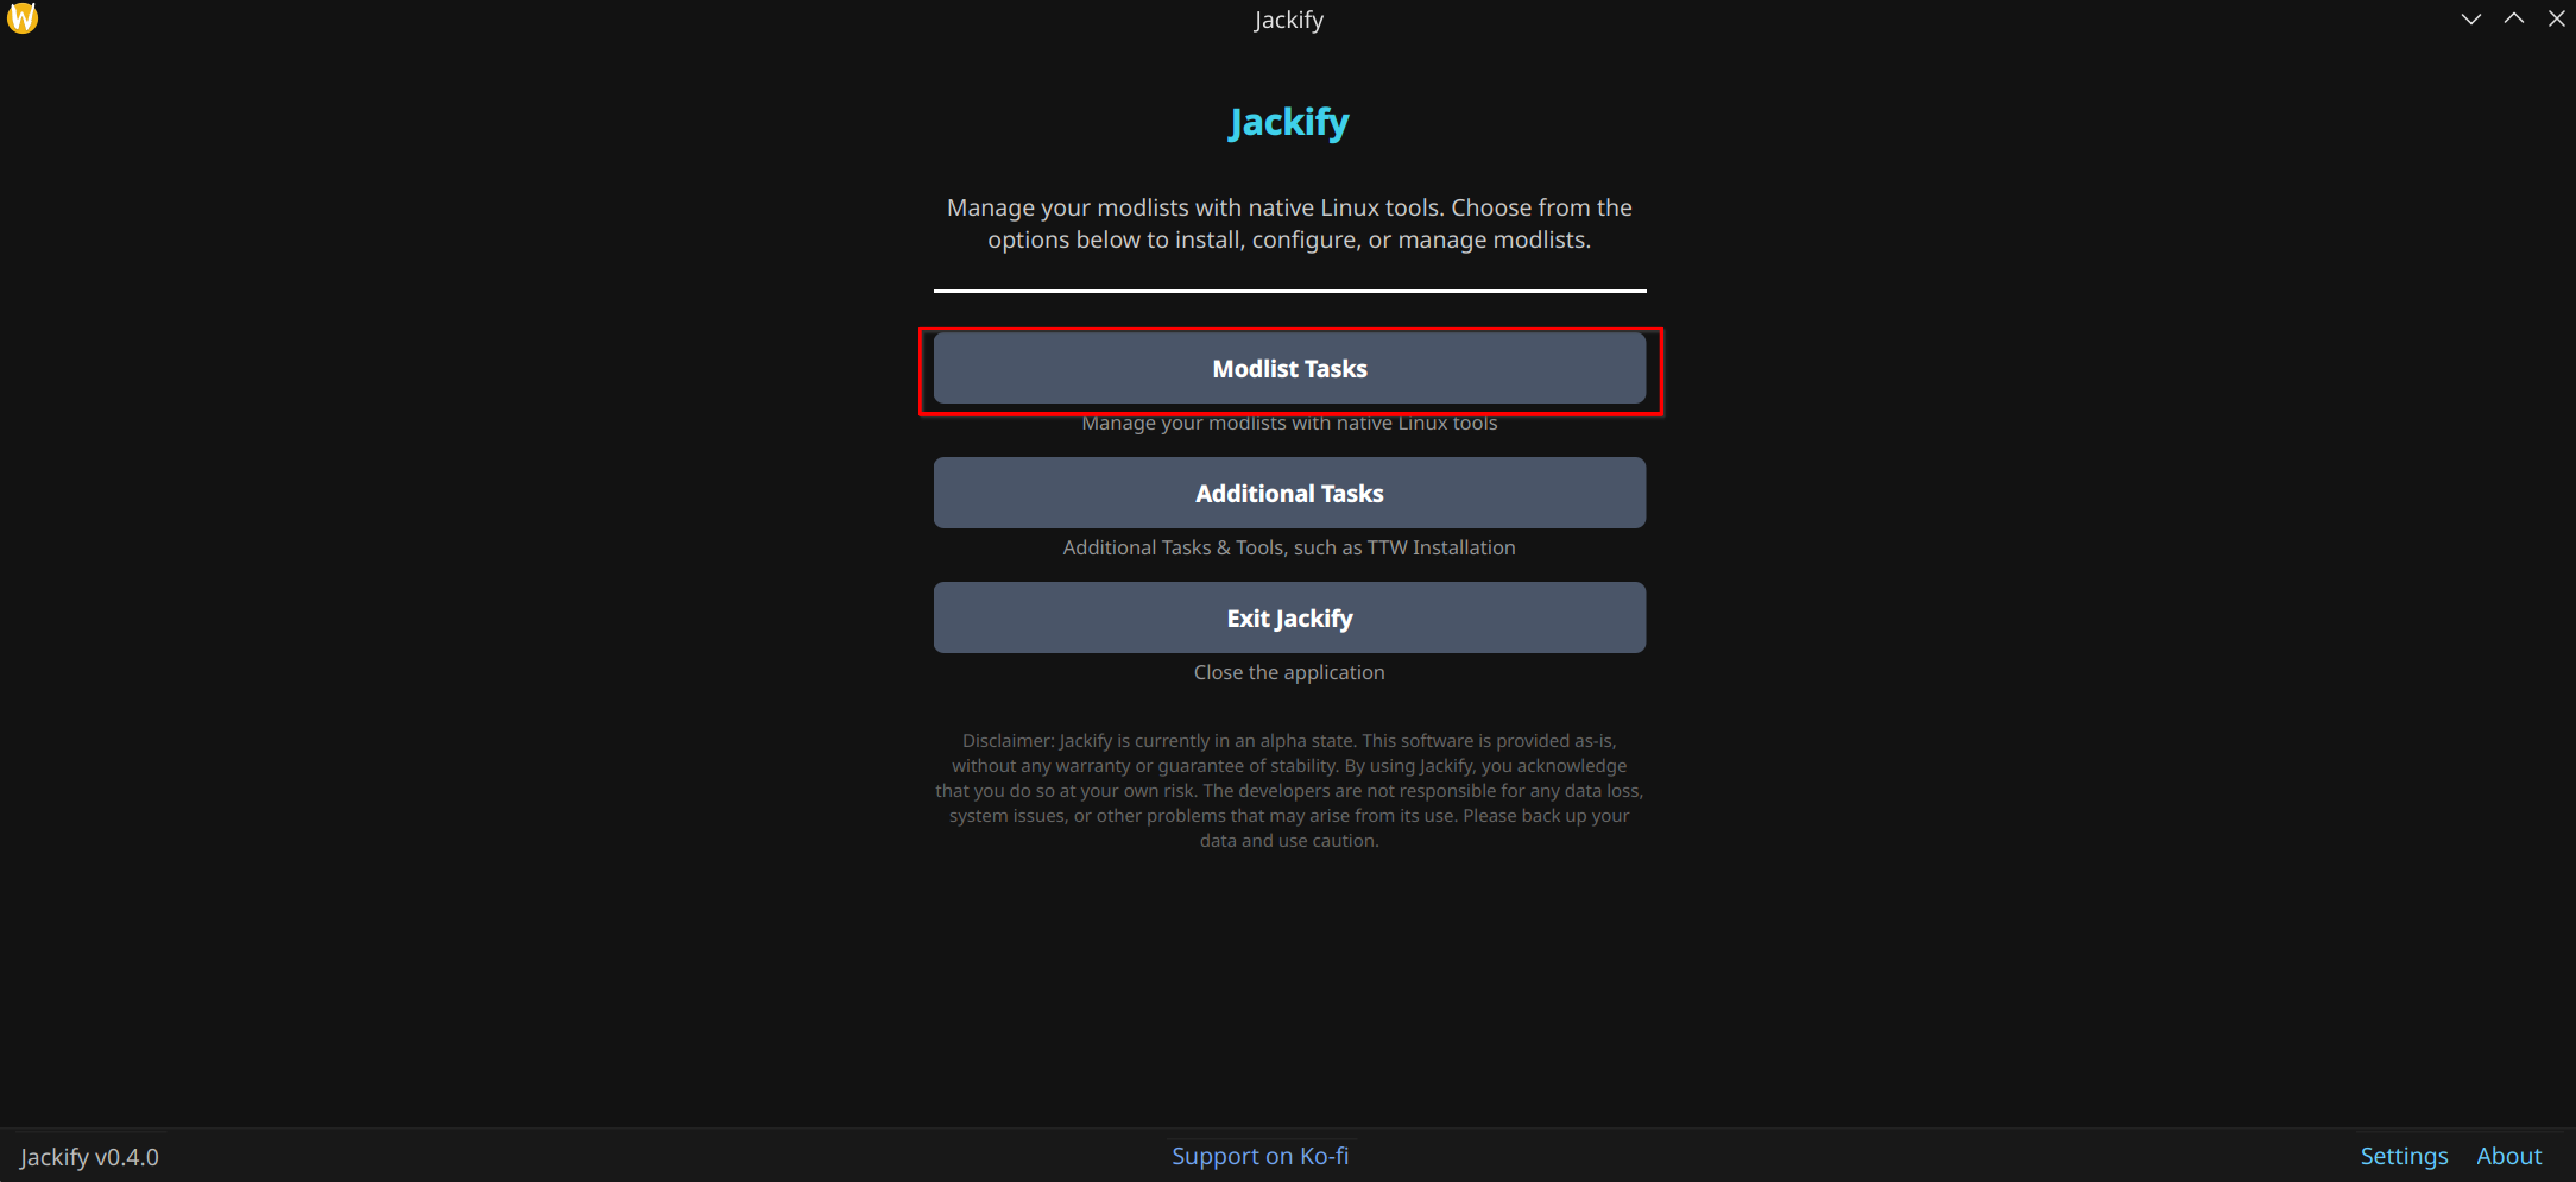
Screenshot: Jackify main menu — Modlist Tasks option
- Select "Install a Modlist (Automated)"
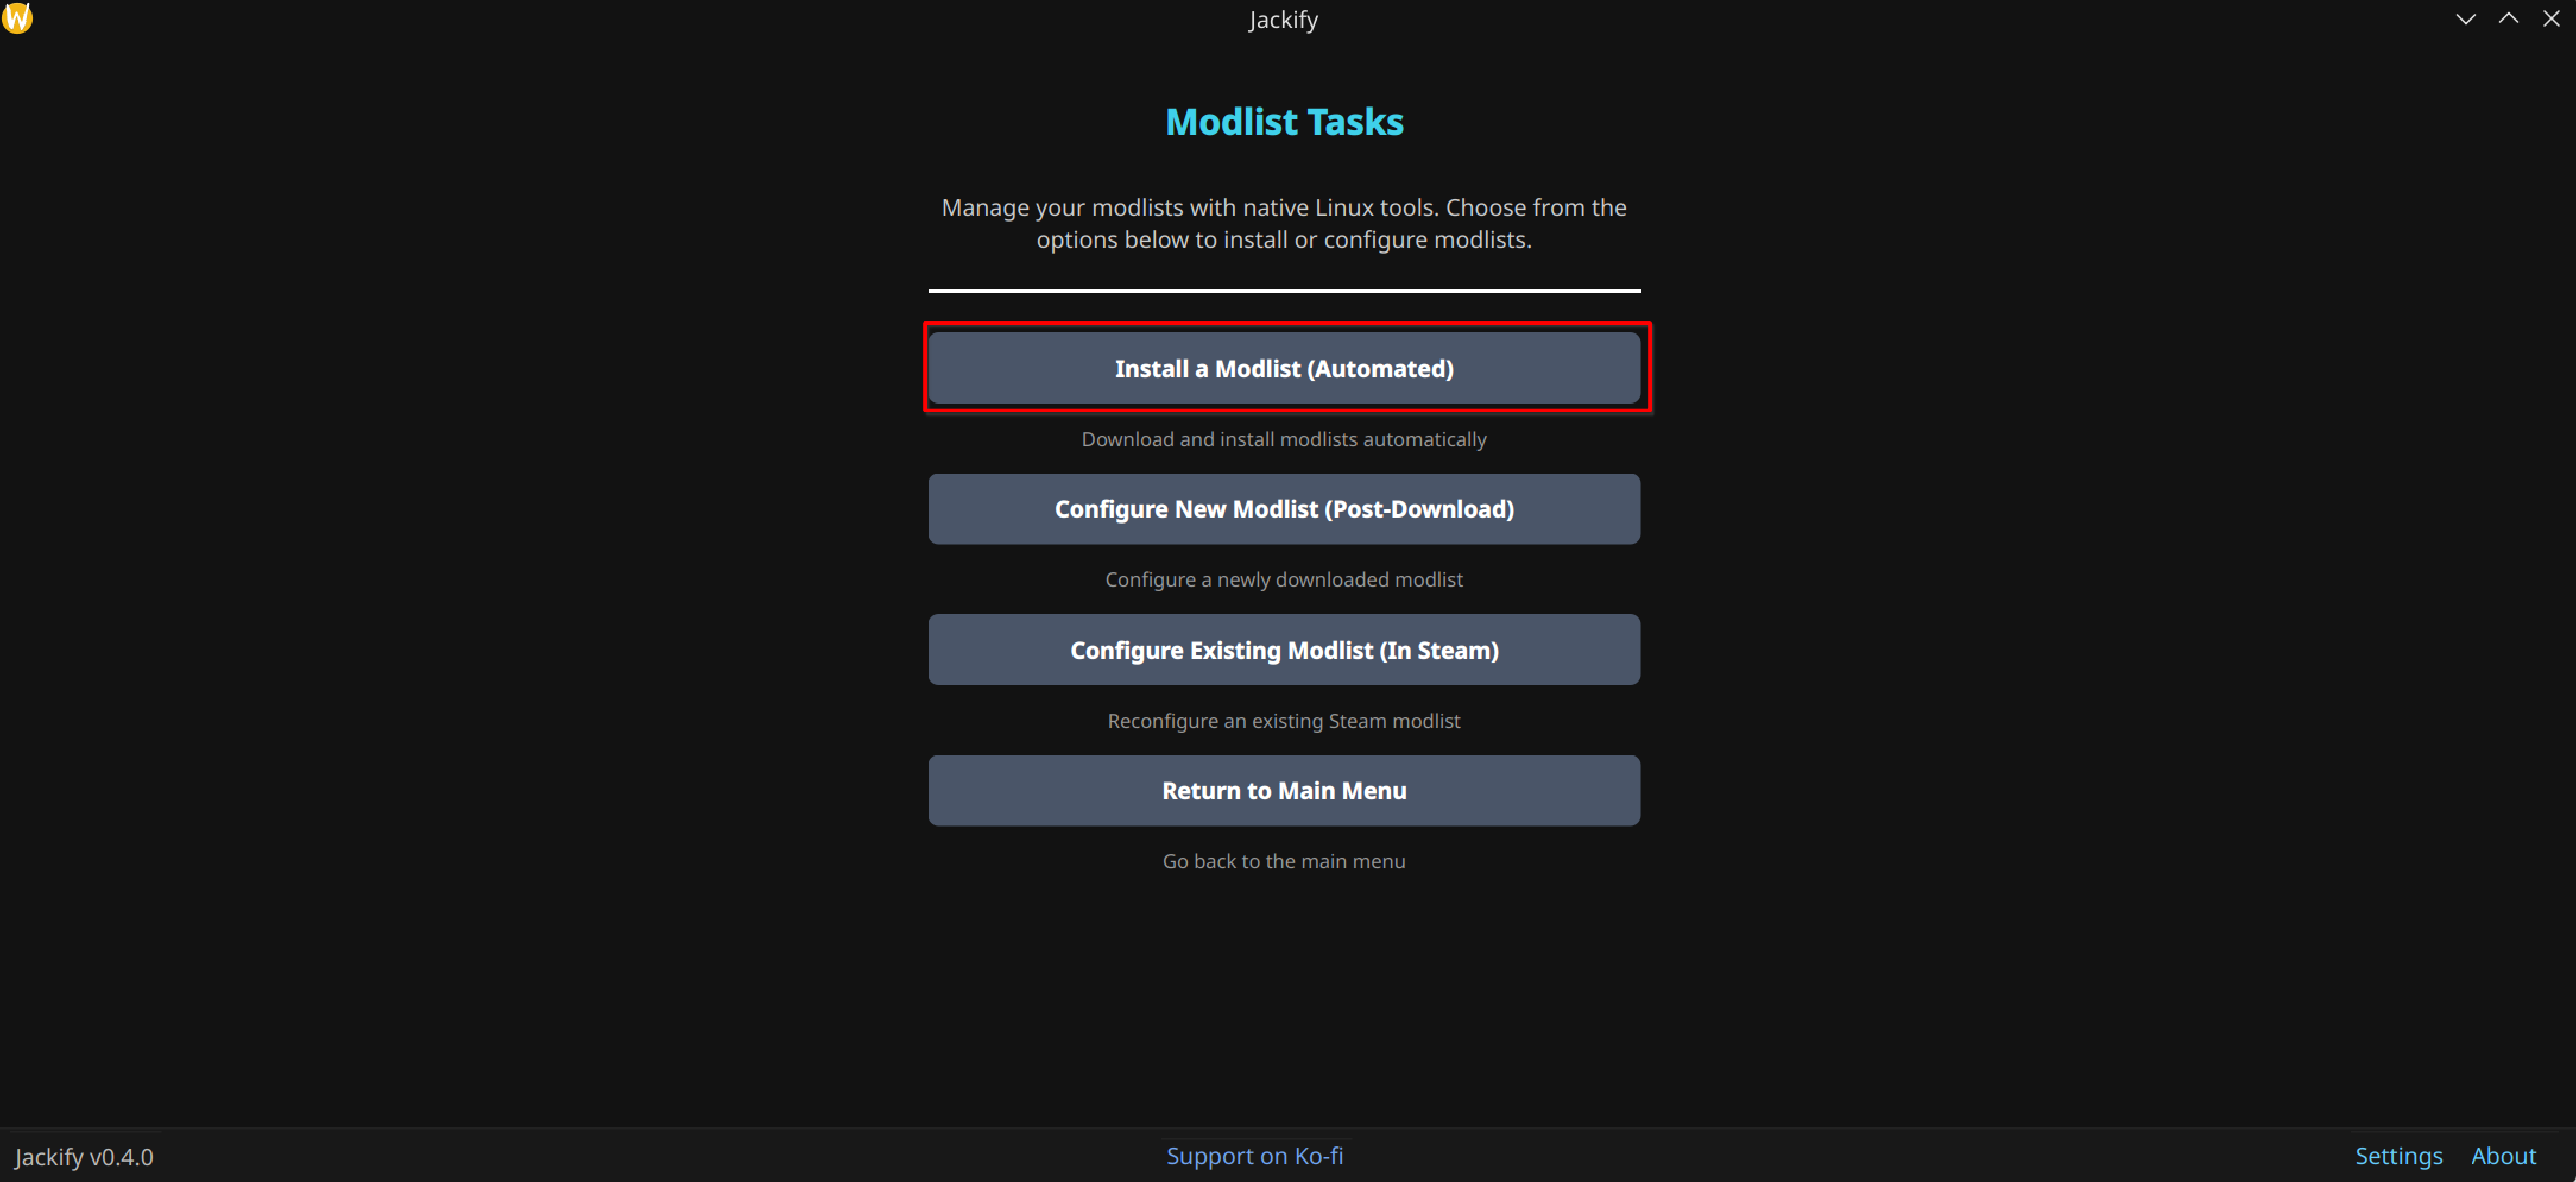
Screenshot: Modlist Tasks menu
- Choose your game (e.g. Skyrim, Fallout 4, etc.)
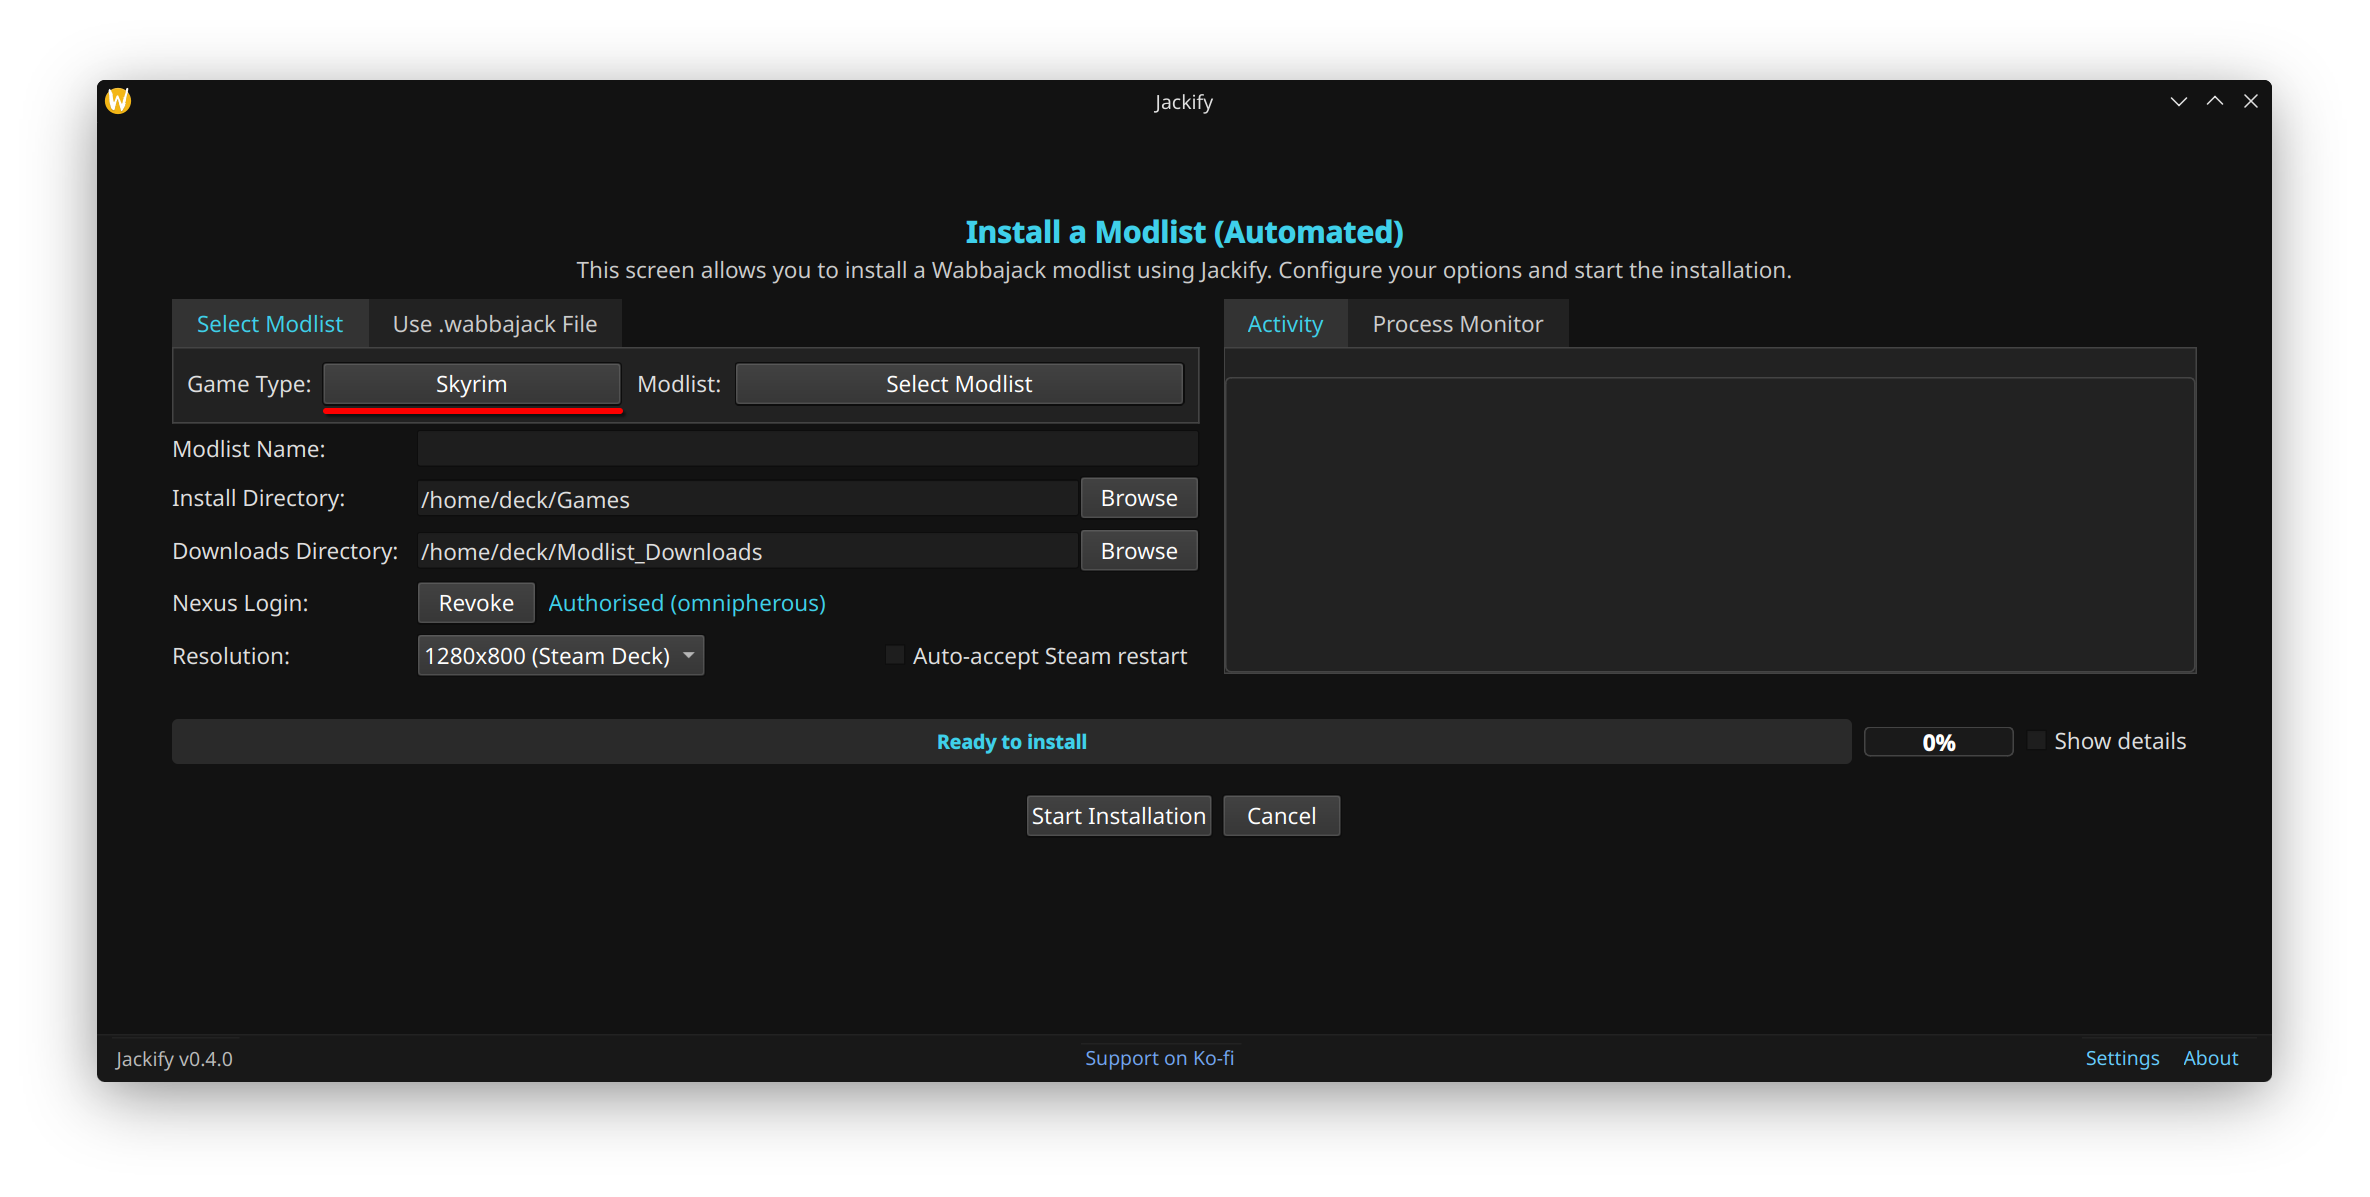
Screenshot: Game type selection — Skyrim shown as example
-
Authorise with Nexus Mods:
- Click the "Authorise" button
- Complete the OAuth login in your browser
- Jackify will be redirected back automatically once authorised
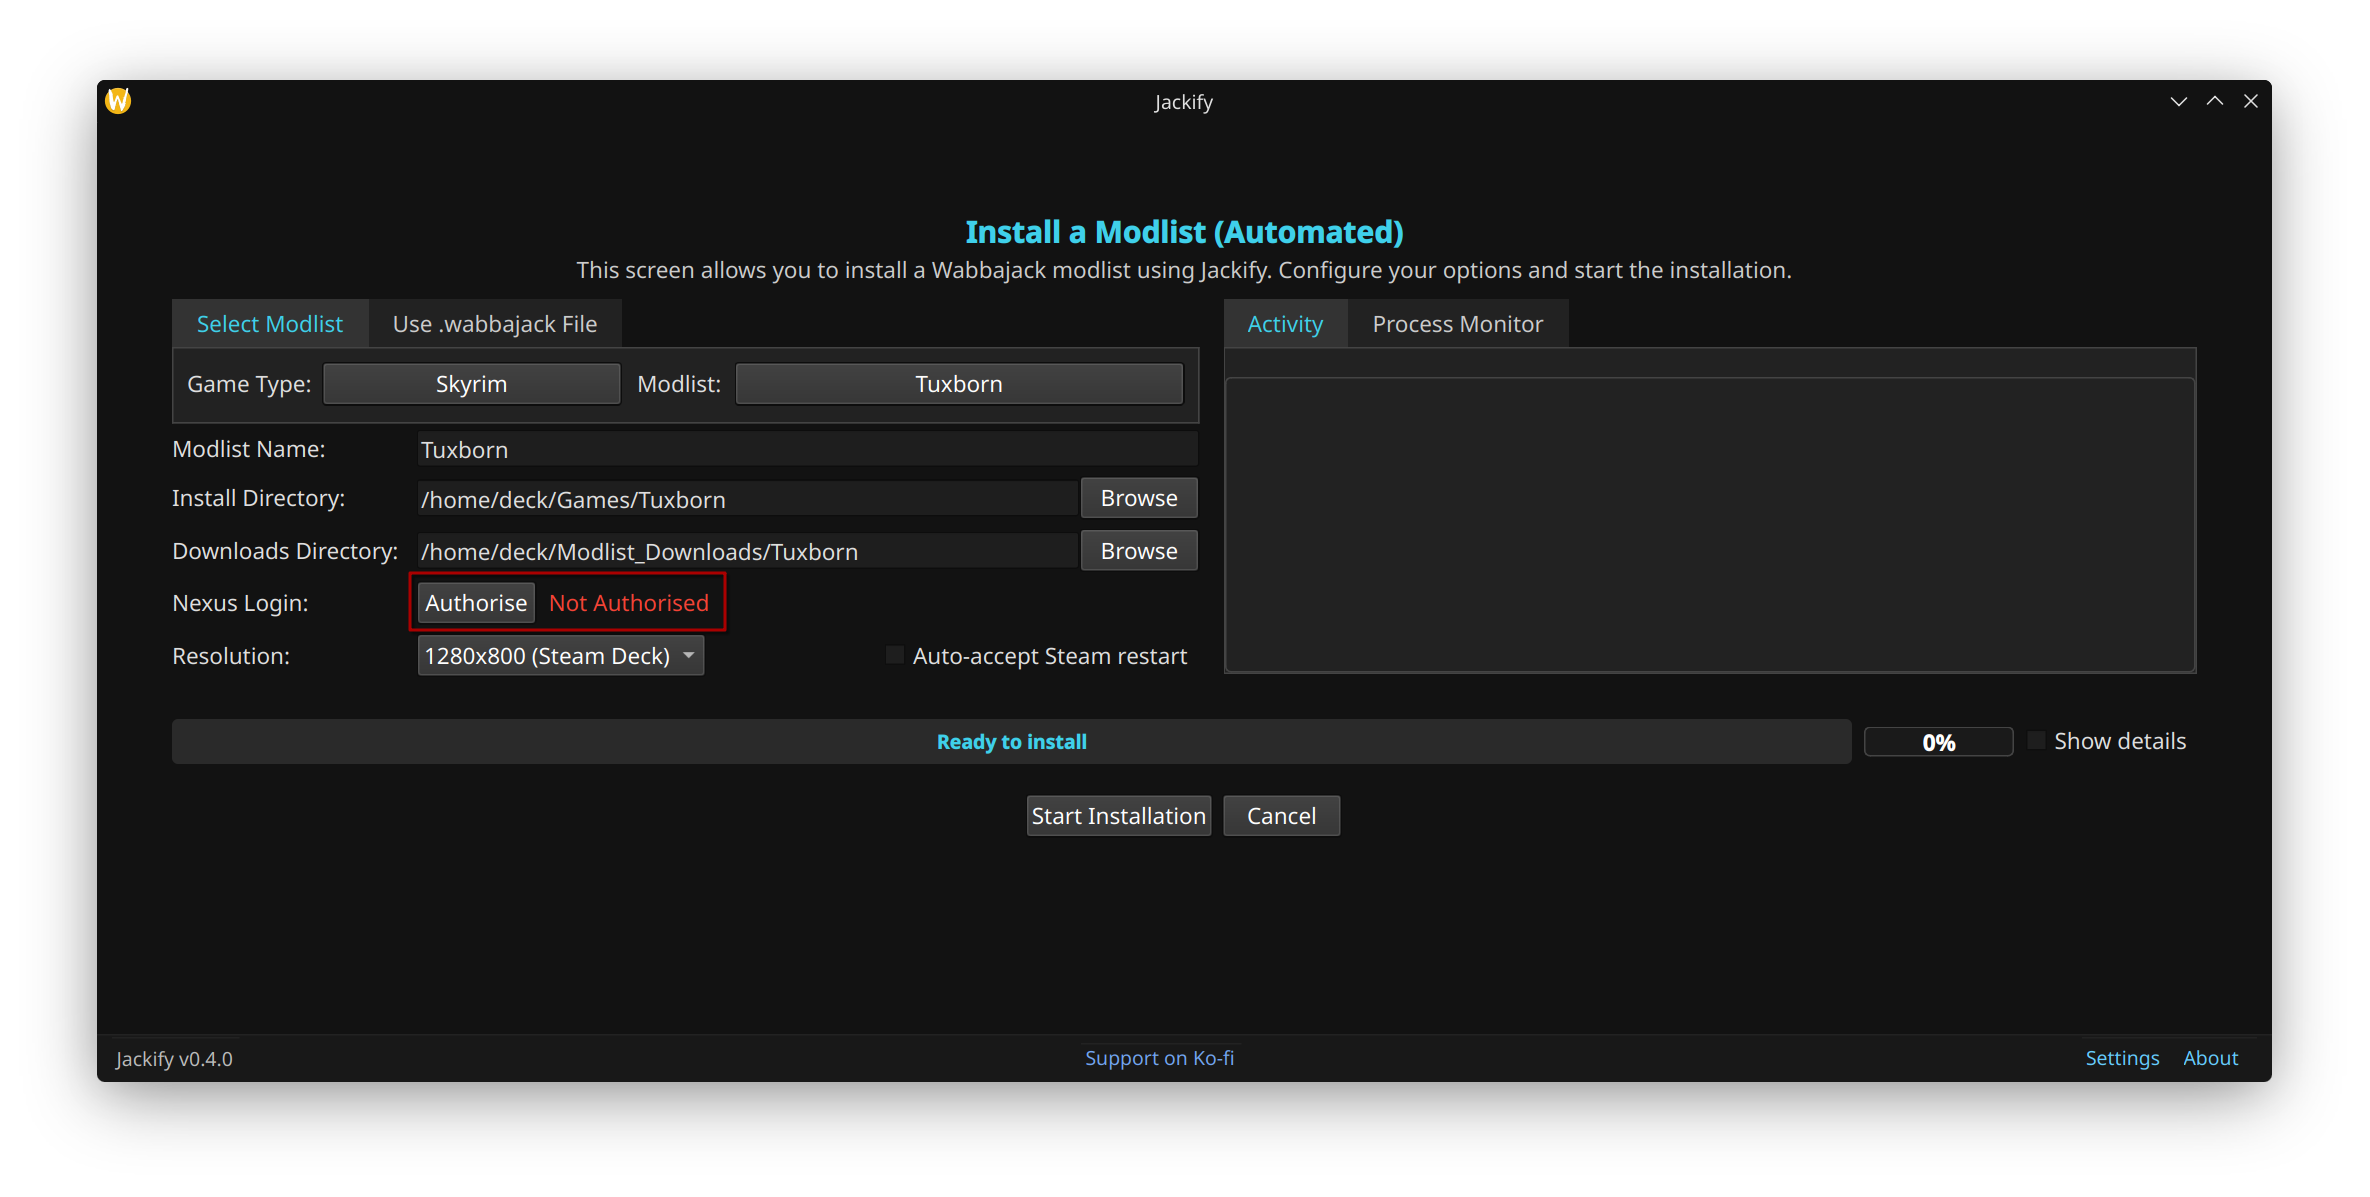
Screenshot: Jackify installation screen with Authorise button

Screenshot: Nexus Mods OAuth login page
-
Select your modlist:
Option A — Browse the Modlist Gallery:
- Click the "Select Modlist" button
- Use the search box to find your modlist
- Filter by game, tags, or NSFW content as needed
- Check download and install sizes before proceeding
- Click on your modlist to select it, then click "Install"

Screenshot: Modlist gallery — Tuxborn shown as example
Option B — Supply your own .wabbajack file:
- Click the "Use .wabbajack file" tab
- Browse to your downloaded .wabbajack file
-
Set Installation and Download Directories:
- Installation directory: where the modlist and Mod Organizer 2 will be installed
- Download directory: where mod archives will be stored (can be on slower storage and deleted after installation)
- Avoid spaces in directory names
- Examples:
Installation: ~/Games/Tuxborn
Downloads:    ~/Modlist_Downloads/Tuxborn
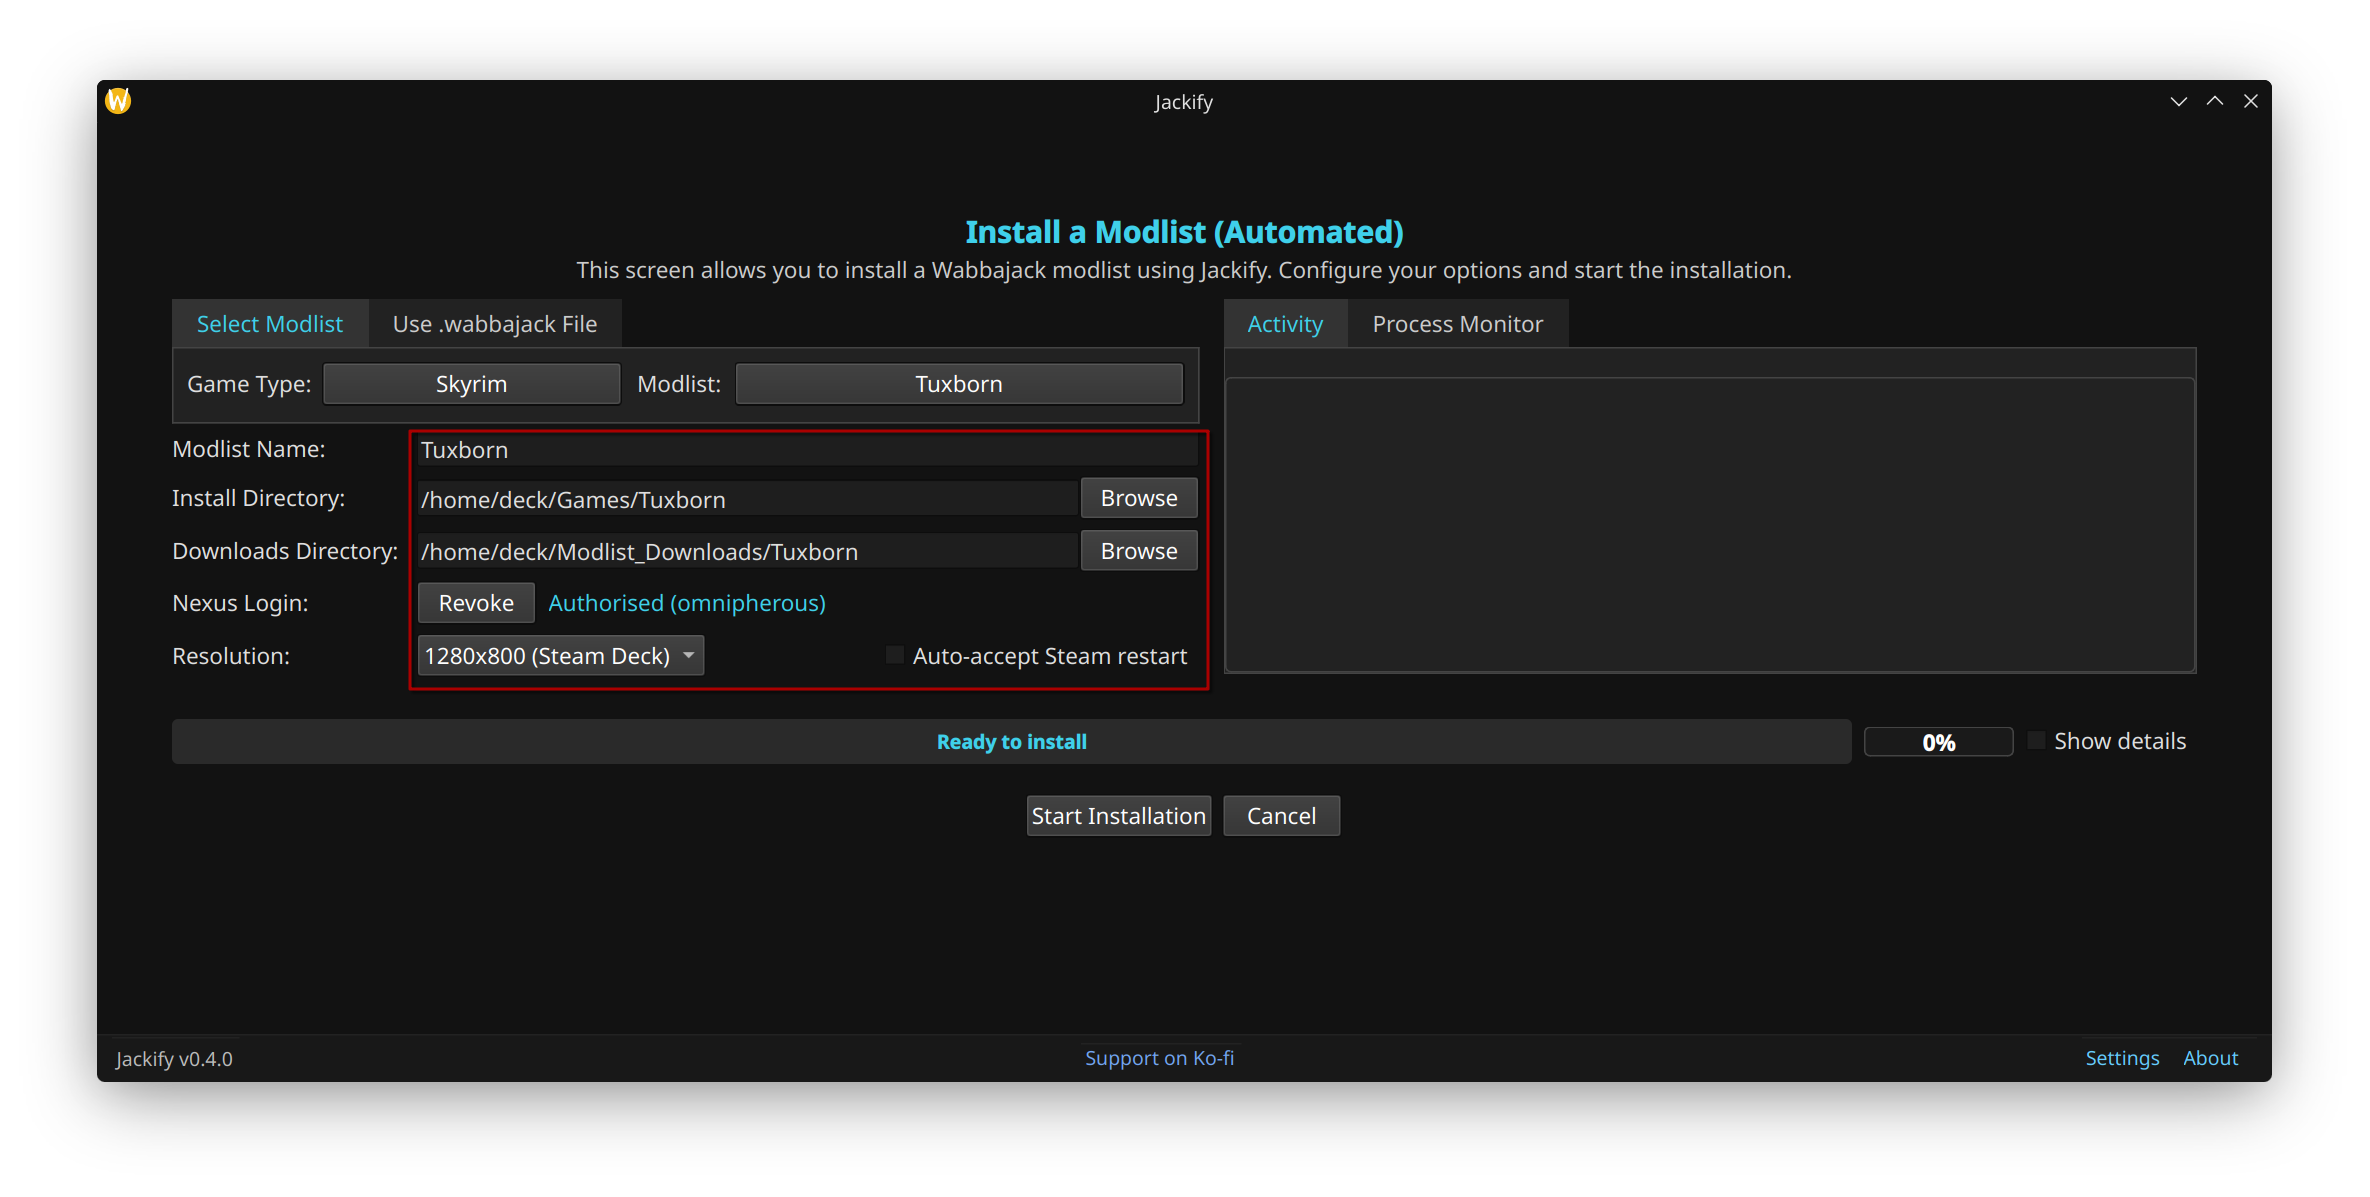
Screenshot: Installation and download directories configured — Tuxborn shown as example
-
Set Resolution:
- Select your display resolution from the dropdown
- Steam Deck default: 1280x800
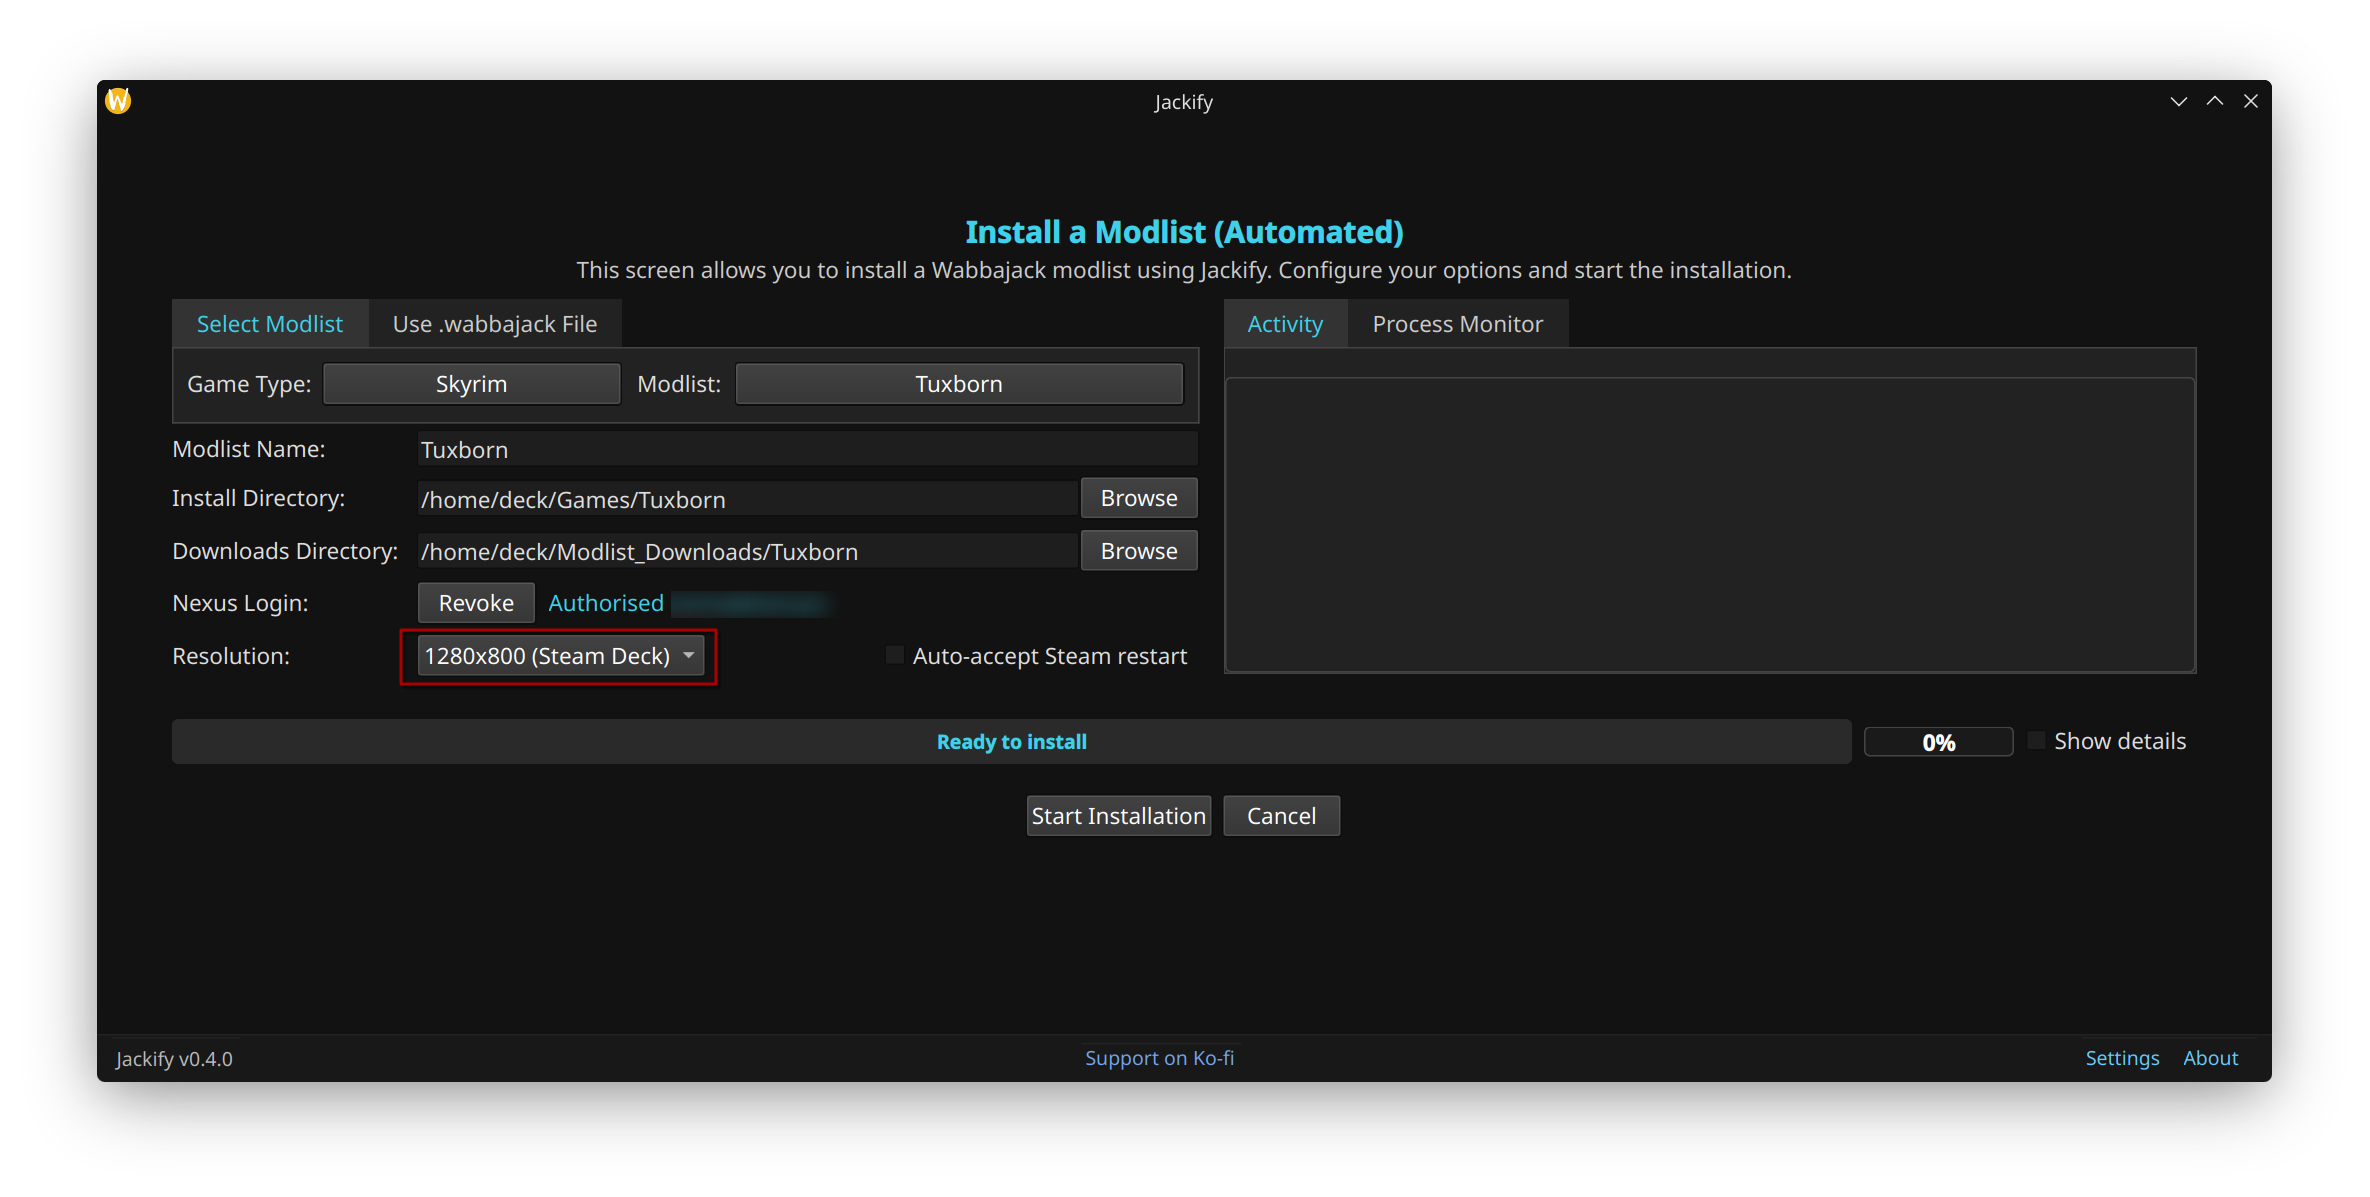
Screenshot: Resolution selection
-
Click "Start Installation"

Screenshot: Installation ready to start
Step 4: Wait for Installation
Jackify will automatically download, install, and configure the modlist.
Installation Phase:
- Download the modlist .wabbajack file (if needed)
- Download all required mod archives from Nexus Mods
- Extract and organise mod files
- Convert textures (if needed)
- Build BSAs
Configuration Phase (Automatic):
- Create a Steam shortcut with proper Proton configuration
- Install required Wine components (vcrun2022, dotnet, etc.)
- Apply game-specific registry fixes
- Configure launch options and display resolution
- Restart Steam to apply changes
This process may take several hours depending on modlist size, internet speed, CPU, GPU and disk performance. Installation is resumable — if interrupted, simply reuse the same directories and Jackify will continue from where it left off.

Screenshot: Installation in progress
Once installation and configuration complete, Jackify will show a success message.
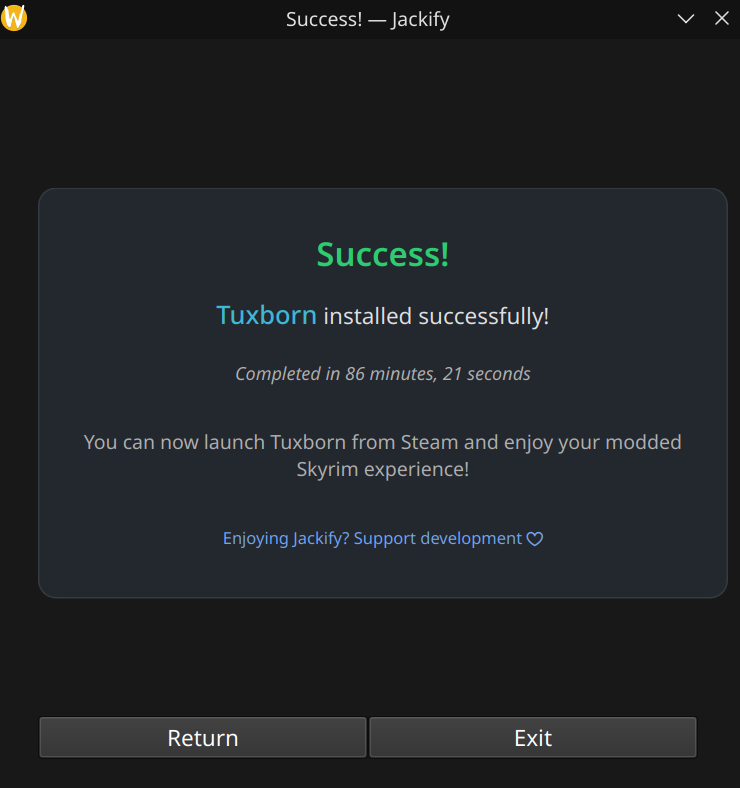
Screenshot: Installation complete
Step 5: Launch and Play
- Open Steam — your modlist will appear in your library
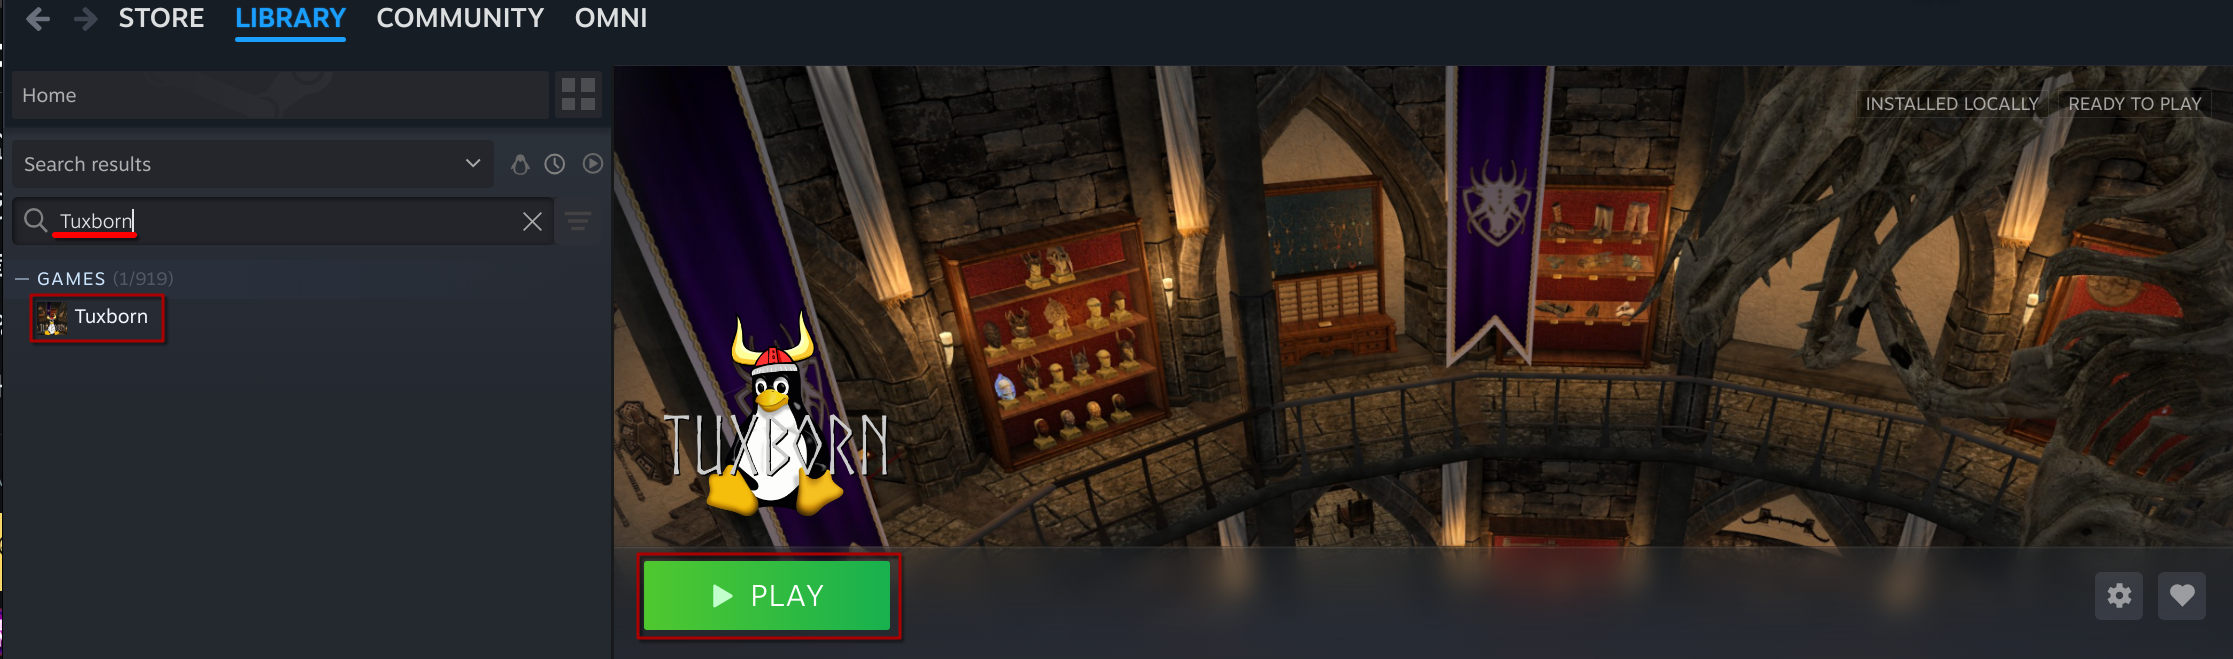
Screenshot: Modlist shortcut in Steam library — your modlist will appear here; Tuxborn shown as example
- Click Play — Mod Organizer 2 will launch
- In Mod Organizer 2, ensure your desired profile is selected in the left-hand dropdown at the top of the window
- In the right-hand dropdown next to the Run button, ensure the correct executable for your modlist is selected (this is usually the modlist name or the game launcher)
- Click Run to start the game

Screenshot: Mod Organizer 2 — profile dropdown (top left) and Run button (top right)
Warning
Shortly after clicking Run, an Unlock button will appear in Mod Organizer 2. Do not click it — doing so will break your modlist installation.
First Launch Expectations
The first launch will behave differently from subsequent ones:
- Long load times: Via Proton, initial load times are longer than on Windows. On Steam Deck this can be 7-8 minutes. This is normal and unfortunately not limited to just the first launch.
- Shader compilation: The game will compile shaders on first launch. This is a one-off process.
- Possible crashes: 1-2 crashes during the first few launches are normal while the shader cache builds. Relaunch and continue.
- Unusual colours on the main menu: Can occur during initial shader building and resolves once the game fully loads.
- Creations download prompt: Skyrim Modlists On Linux, the game may not recognise that Creation Club content is already installed and will prompt you to download it again. You do not need to re-download anything — dismiss the prompt with
EscapeorEnteron keyboard, or the back/dismiss button on a gamepad. - Character naming box: If you cannot type in the character name field on first launch, restart the game once more and try again.
Troubleshooting
Installation fails:
- Try running the installation again — temporary network issues can cause failures
- Verify you have sufficient disk space
- Re-authorise with Nexus Mods if your session has expired
- Check internet connection stability
Jackify won't start:
- Ensure FUSE is installed on your system
- Check file permissions:
chmod +x Jackify.AppImage - Try running from terminal to see any error output
Installation fails with errors referencing ccbgssse037-curios (Skyrim modlists):
Bethesda distributes Rare Curios in two versions — one via Steam (uppercase filenames) and one via the in-game Creations menu (lowercase filenames). Wabbajack modlists require the lowercase version. To fix:
- Delete
ccBGSSSE037-Curios.bsaandccBGSSSE037-Curios.eslfrom your SkyrimDatafolder - Launch Skyrim Special Edition from Steam
- Go to Creations in the main menu
- Search for and download Rare Curios
- Wait until it shows as Installed, then close the game
- Retry the installation in Jackify
Need help:
- For modlist-specific issues, check the modlist's own Discord or support channels
- Report Jackify issues on GitHub Issues